 Jireh程序猿的那些事
记录分享生活、程序、信息的精彩人生
目录
ElasticSearch-[Centos]单机部署安装记录
ElasticSearch-[Centos]单机部署安装记录
Elasticsearch-[Centos]单机部署安装记录
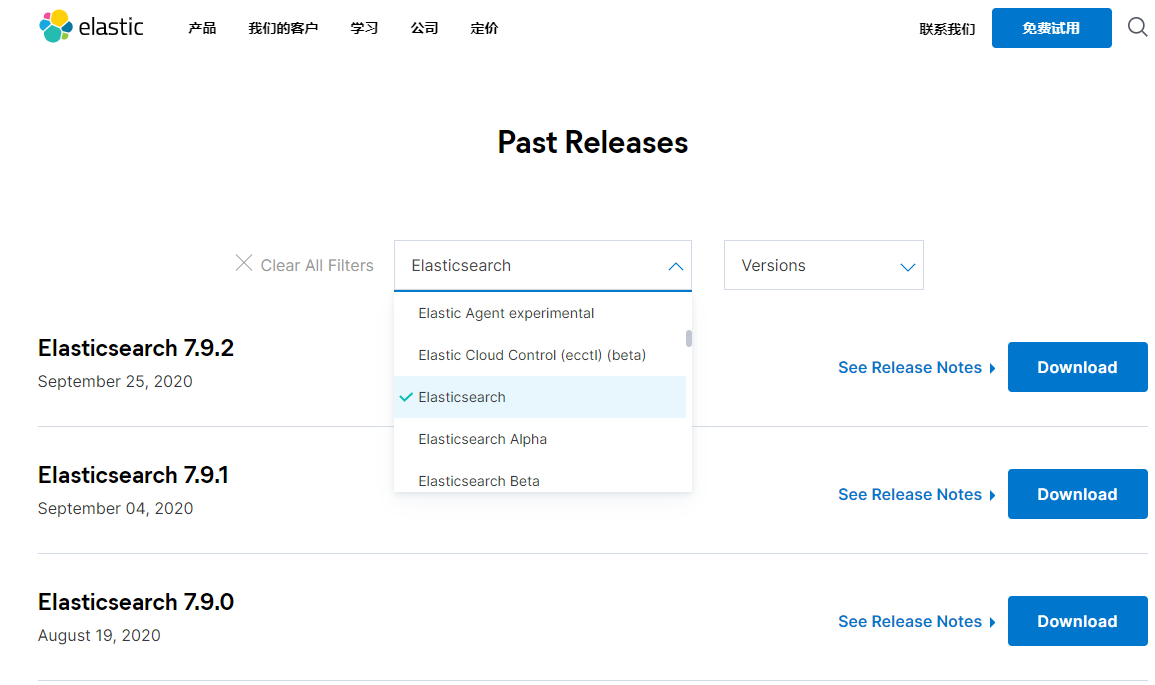
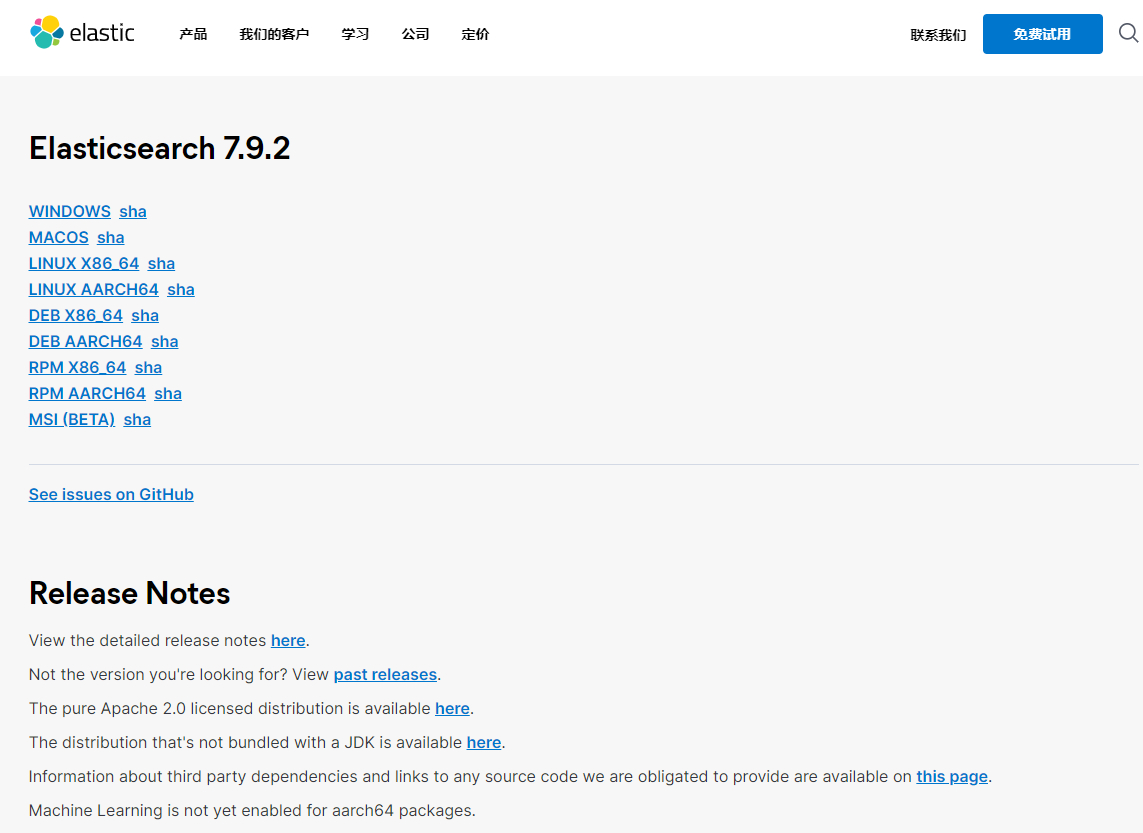
1.首先到https://www.elastic.co/cn/downloads/past-releases 下载你需要的Elasticsearch版本。
下载你所需要的版本【如果你的机子是离线的话】
wget https://artifacts.elastic.co/downloads/elasticsearch/elasticsearch-7.9.2-linux-x86_64.tar.gz
解压
tar -xvf elasticsearch-7.9.2-linux-x86_64.tar.gz
2.配置用户
ElasticSearch需要非Root用户运行,所以需要创建一个专门的用户进行运行。
useradd es
chown -R es.es ./elasticsearch-7.9.2/
3.配置相关配置文件
config/elasticsearch.yml
去掉注释,需要配置这么几项
- network.host: 192.168.5.10 | 这里填写绑定的IP(可以是Ipv6)
- http.port: 9200 | 服务的端口
- cluster.initial_master_nodes: ["node-1"] | 初始主节点
- http.cors.enabled: true
- http.cors.allow-origin: "*"
是否能跨域
# ======================== Elasticsearch Configuration =========================
#
# NOTE: Elasticsearch comes with reasonable defaults for most settings.
#       Before you set out to tweak and tune the configuration, make sure you
#       understand what are you trying to accomplish and the consequences.
#
# The primary way of configuring a node is via this file. This template lists
# the most important settings you may want to configure for a production cluster.
#
# Please consult the documentation for further information on configuration options:
# https://www.elastic.co/guide/en/elasticsearch/reference/index.html
#
# ---------------------------------- Cluster -----------------------------------
#
# Use a descriptive name for your cluster:
#
#cluster.name: my-application
#
# ------------------------------------ Node ------------------------------------
#
# Use a descriptive name for the node:
#
#node.name: node-1
#
# Add custom attributes to the node:
#
#node.attr.rack: r1
#
# ----------------------------------- Paths ------------------------------------
#
# Path to directory where to store the data (separate multiple locations by comma):
#
#path.data: /path/to/data
#
# Path to log files:
#
#path.logs: /path/to/logs
#
# ----------------------------------- Memory -----------------------------------
#
# Lock the memory on startup:
#
#bootstrap.memory_lock: true
#
# Make sure that the heap size is set to about half the memory available
# on the system and that the owner of the process is allowed to use this
# limit.
#
# Elasticsearch performs poorly when the system is swapping the memory.
#
# ---------------------------------- Network -----------------------------------
#
# Set the bind address to a specific IP (IPv4 or IPv6):
#
network.host: 192.168.5.101
#
# Set a custom port for HTTP:
#
http.port: 9200
#
# For more information, consult the network module documentation.
#
# --------------------------------- Discovery ----------------------------------
#
# Pass an initial list of hosts to perform discovery when this node is started:
# The default list of hosts is ["127.0.0.1", "[::1]"]
#
#discovery.seed_hosts: ["host1", "host2"]
#
# Bootstrap the cluster using an initial set of master-eligible nodes:
#
#cluster.initial_master_nodes: ["node-1", "node-2"]
cluster.initial_master_nodes: ["node-1"]

#
# For more information, consult the discovery and cluster formation module documentation.
#
# ---------------------------------- Gateway -----------------------------------
#
# Block initial recovery after a full cluster restart until N nodes are started:
#
#gateway.recover_after_nodes: 3
#
# For more information, consult the gateway module documentation.
#
# ---------------------------------- Various -----------------------------------
#
# Require explicit names when deleting indices:
#
#action.destructive_requires_name: true

http.cors.enabled: true
http.cors.allow-origin: "*"
/etc/security/limits.conf
配置文件描述最大限制
es soft nofile 65536
es hard nofile 65536
这里es就是第二步中创建的用户,根据自己所创建的用户进行配置
/etc/sysctl.conf
配置最大虚拟内存
vm.max_map_count=262144
保存后执行sysctl -p生效
4.运行
su - es使用 su -切换到刚才为Elasticsearch所创建的用户
执行elasticsearch-7.9.2/bin/elasticsearch -d
可以查询cat elasticsearch-7.9.2/logs/elasticsearch.log日志文件。

如果觉得这篇文章不错的话,请我喝一杯 咖啡☕吧
标题:ElasticSearch-[Centos]单机部署安装记录
作者:Jireh
地址:https://jireh.xyz/articles/2020/09/28/1601277968113.html
本作品由 Jireh 采用 署名 – 非商业性使用 – 禁止演绎 4.0 国际许可协议进行许可,转载请注明出处。